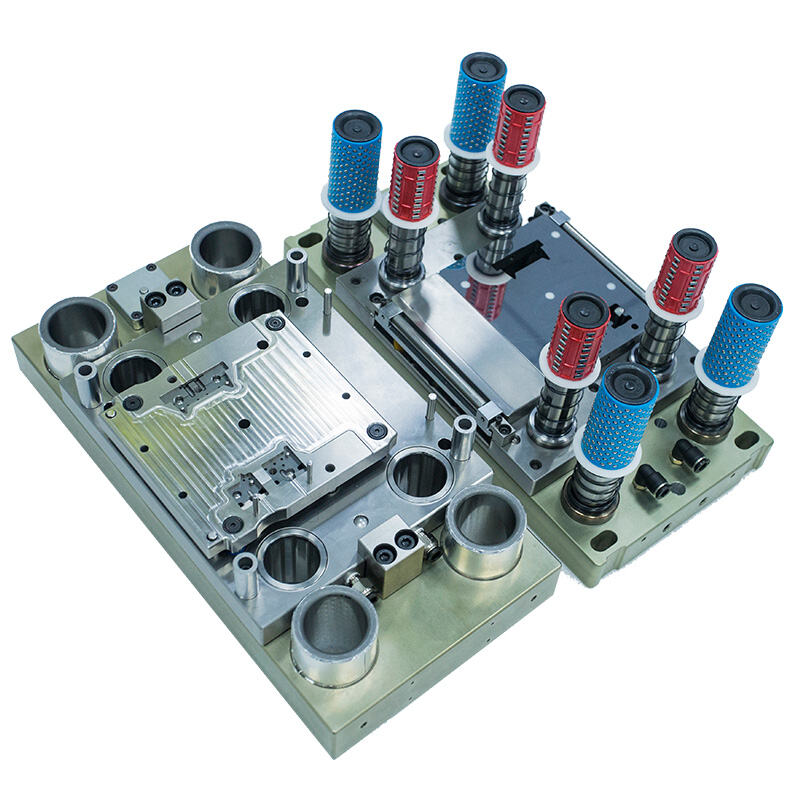
Prepare the workspace and tools for spare parts installation
Installing precision spare parts requires a clean, organized workspace and the right tools—cutting corners here leads to damage or misalignment. Start by clearing the area of dust, debris, and unrelated tools; even tiny particles can scratch the spare parts’ precision surfaces or interfere with fitting. Use a clean, flat workbench covered with a soft cloth or anti-static mat (especially for electronic or delicate mechanical spare parts) to prevent scratches. Gather specialized tools recommended by the manufacturer: torque wrenches (for precise tightening), calipers (to check alignments), precision screwdrivers, and any custom fixtures. Avoid using worn or mismatched tools—pliers with rough jaws can mar the spare parts, and incorrect screwdrivers may strip fasteners. Also, inspect the spare parts themselves before installation: check for shipping damage, burrs, or contamination. Proper preparation ensures the installation process goes smoothly and protects the spare parts’ integrity.
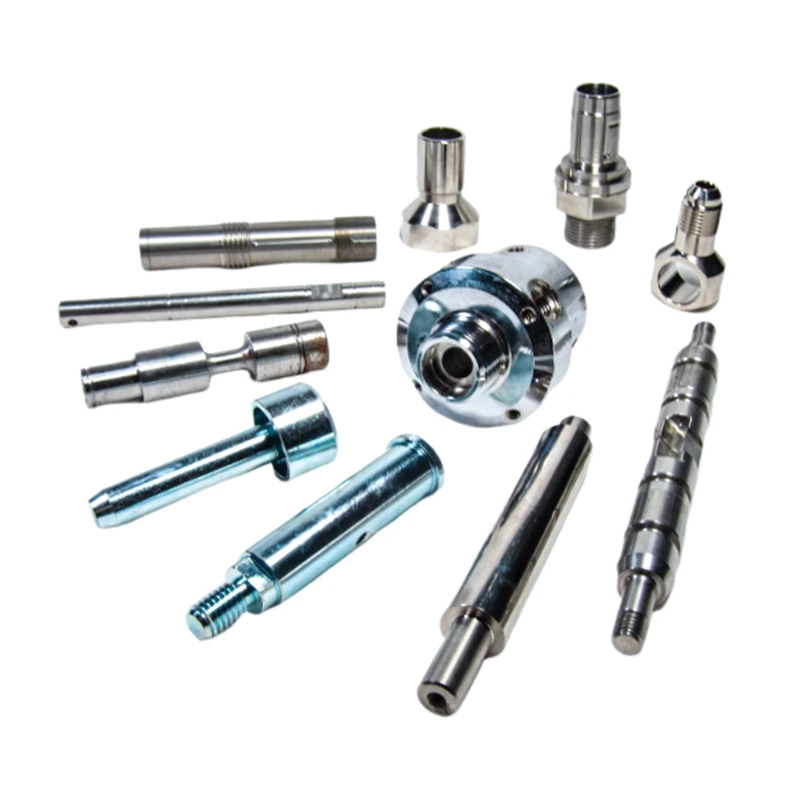
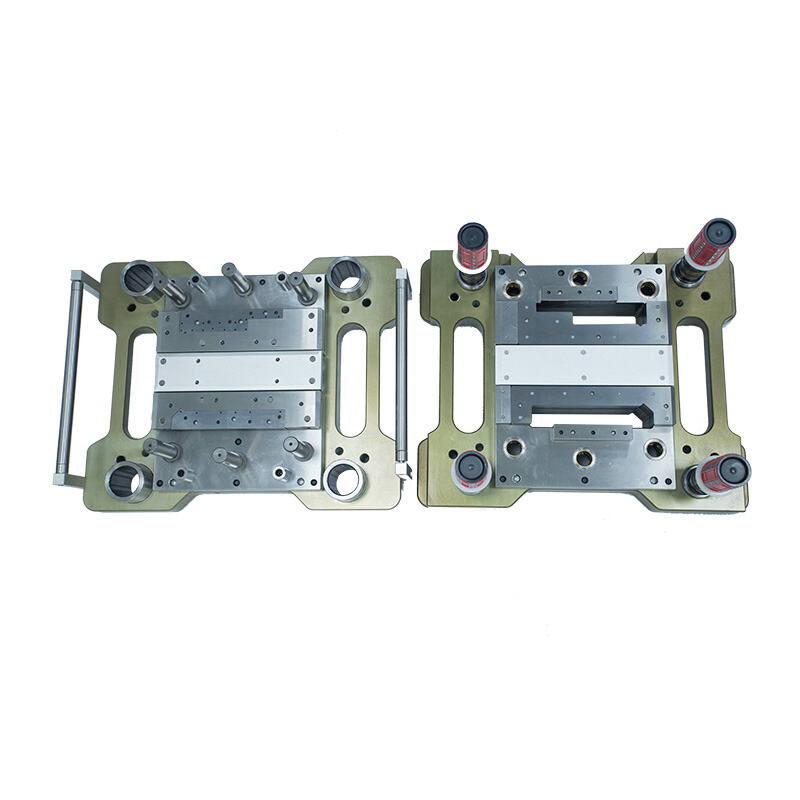
Verify compatibility and inspect spare parts condition
Before installing any precision spare part, confirm it’s fully compatible with the equipment—and check that both the spare part and existing components are in good shape. First, cross-reference the spare part’s model number, dimensions, and specifications with the equipment manual to avoid using a mismatched part. A spare part that’s even slightly off can cause vibrations, poor performance, or damage to other components. Next, inspect the spare part for defects: look for bent pins, cracked housings, uneven surfaces, or signs of corrosion. Check the mating surfaces (where the spare part connects to existing components) for wear, scratches, or debris—clean them with a lint-free cloth and appropriate solvent if needed. For moving spare parts (like bearings or gears), ensure they rotate smoothly without resistance. Verifying compatibility and condition prevents costly mistakes and ensures the spare part functions as intended once installed.
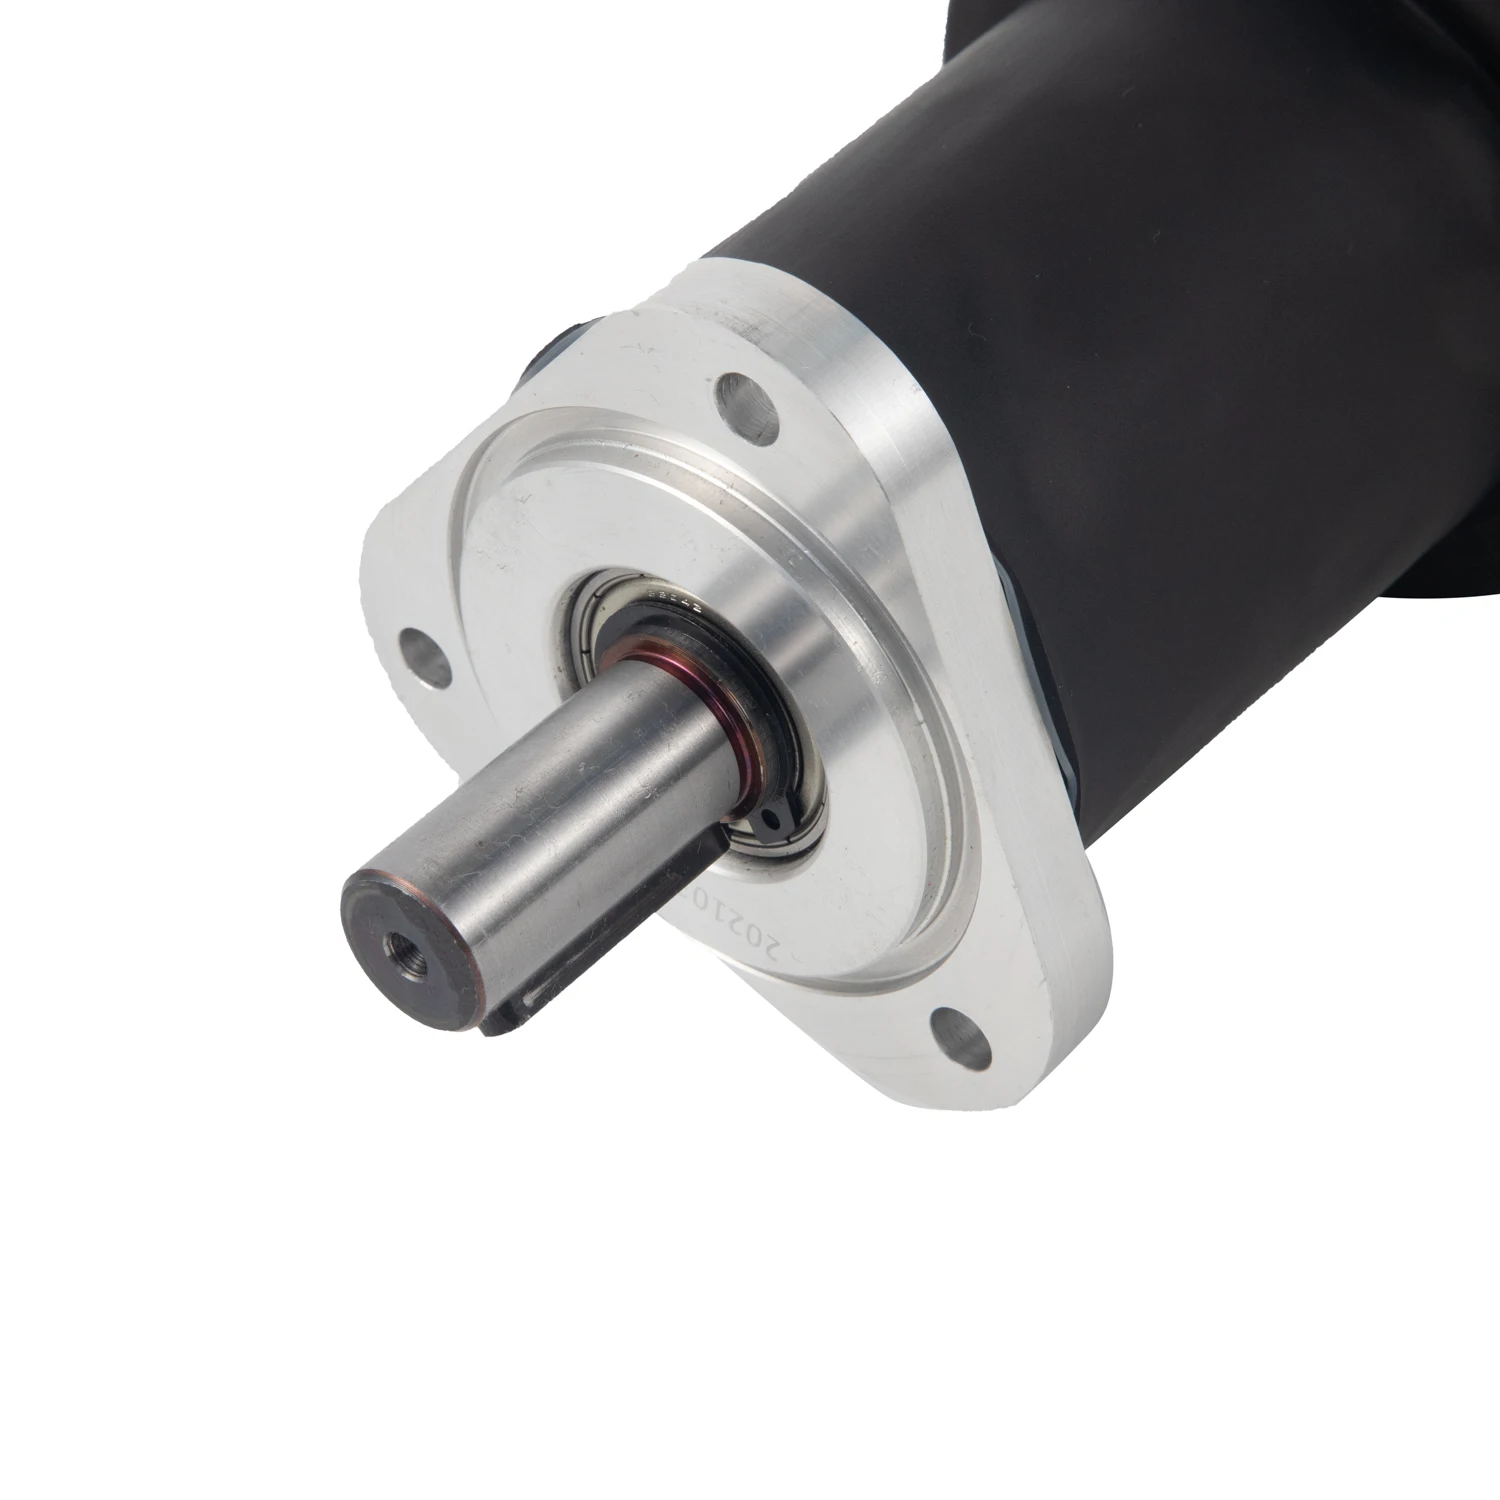
Follow proper handling and alignment techniques for spare parts
Precision spare parts are sensitive to improper handling and misalignment—even small errors can ruin their performance. Always handle the spare parts by non-critical surfaces; avoid touching precision edges, lenses, or electrical contacts. Use gloves if recommended to prevent oil from your hands transferring to the spare part, which can attract dust or cause corrosion. When aligning the spare part, use visual guides (like alignment marks) or measuring tools (calipers, straightedges) to ensure it’s positioned correctly. Never force the spare part into place—if it doesn’t fit smoothly, stop and check for misalignment, debris, or damage. For bolted connections, tighten fasteners in a crisscross pattern (not one after another) to distribute pressure evenly. Use a torque wrench to apply the exact amount of force specified by the manufacturer—over-tightening can warp the spare part, while under-tightening leads to loose connections and vibrations. Proper handling and alignment ensure the spare part fits perfectly and operates at peak precision.
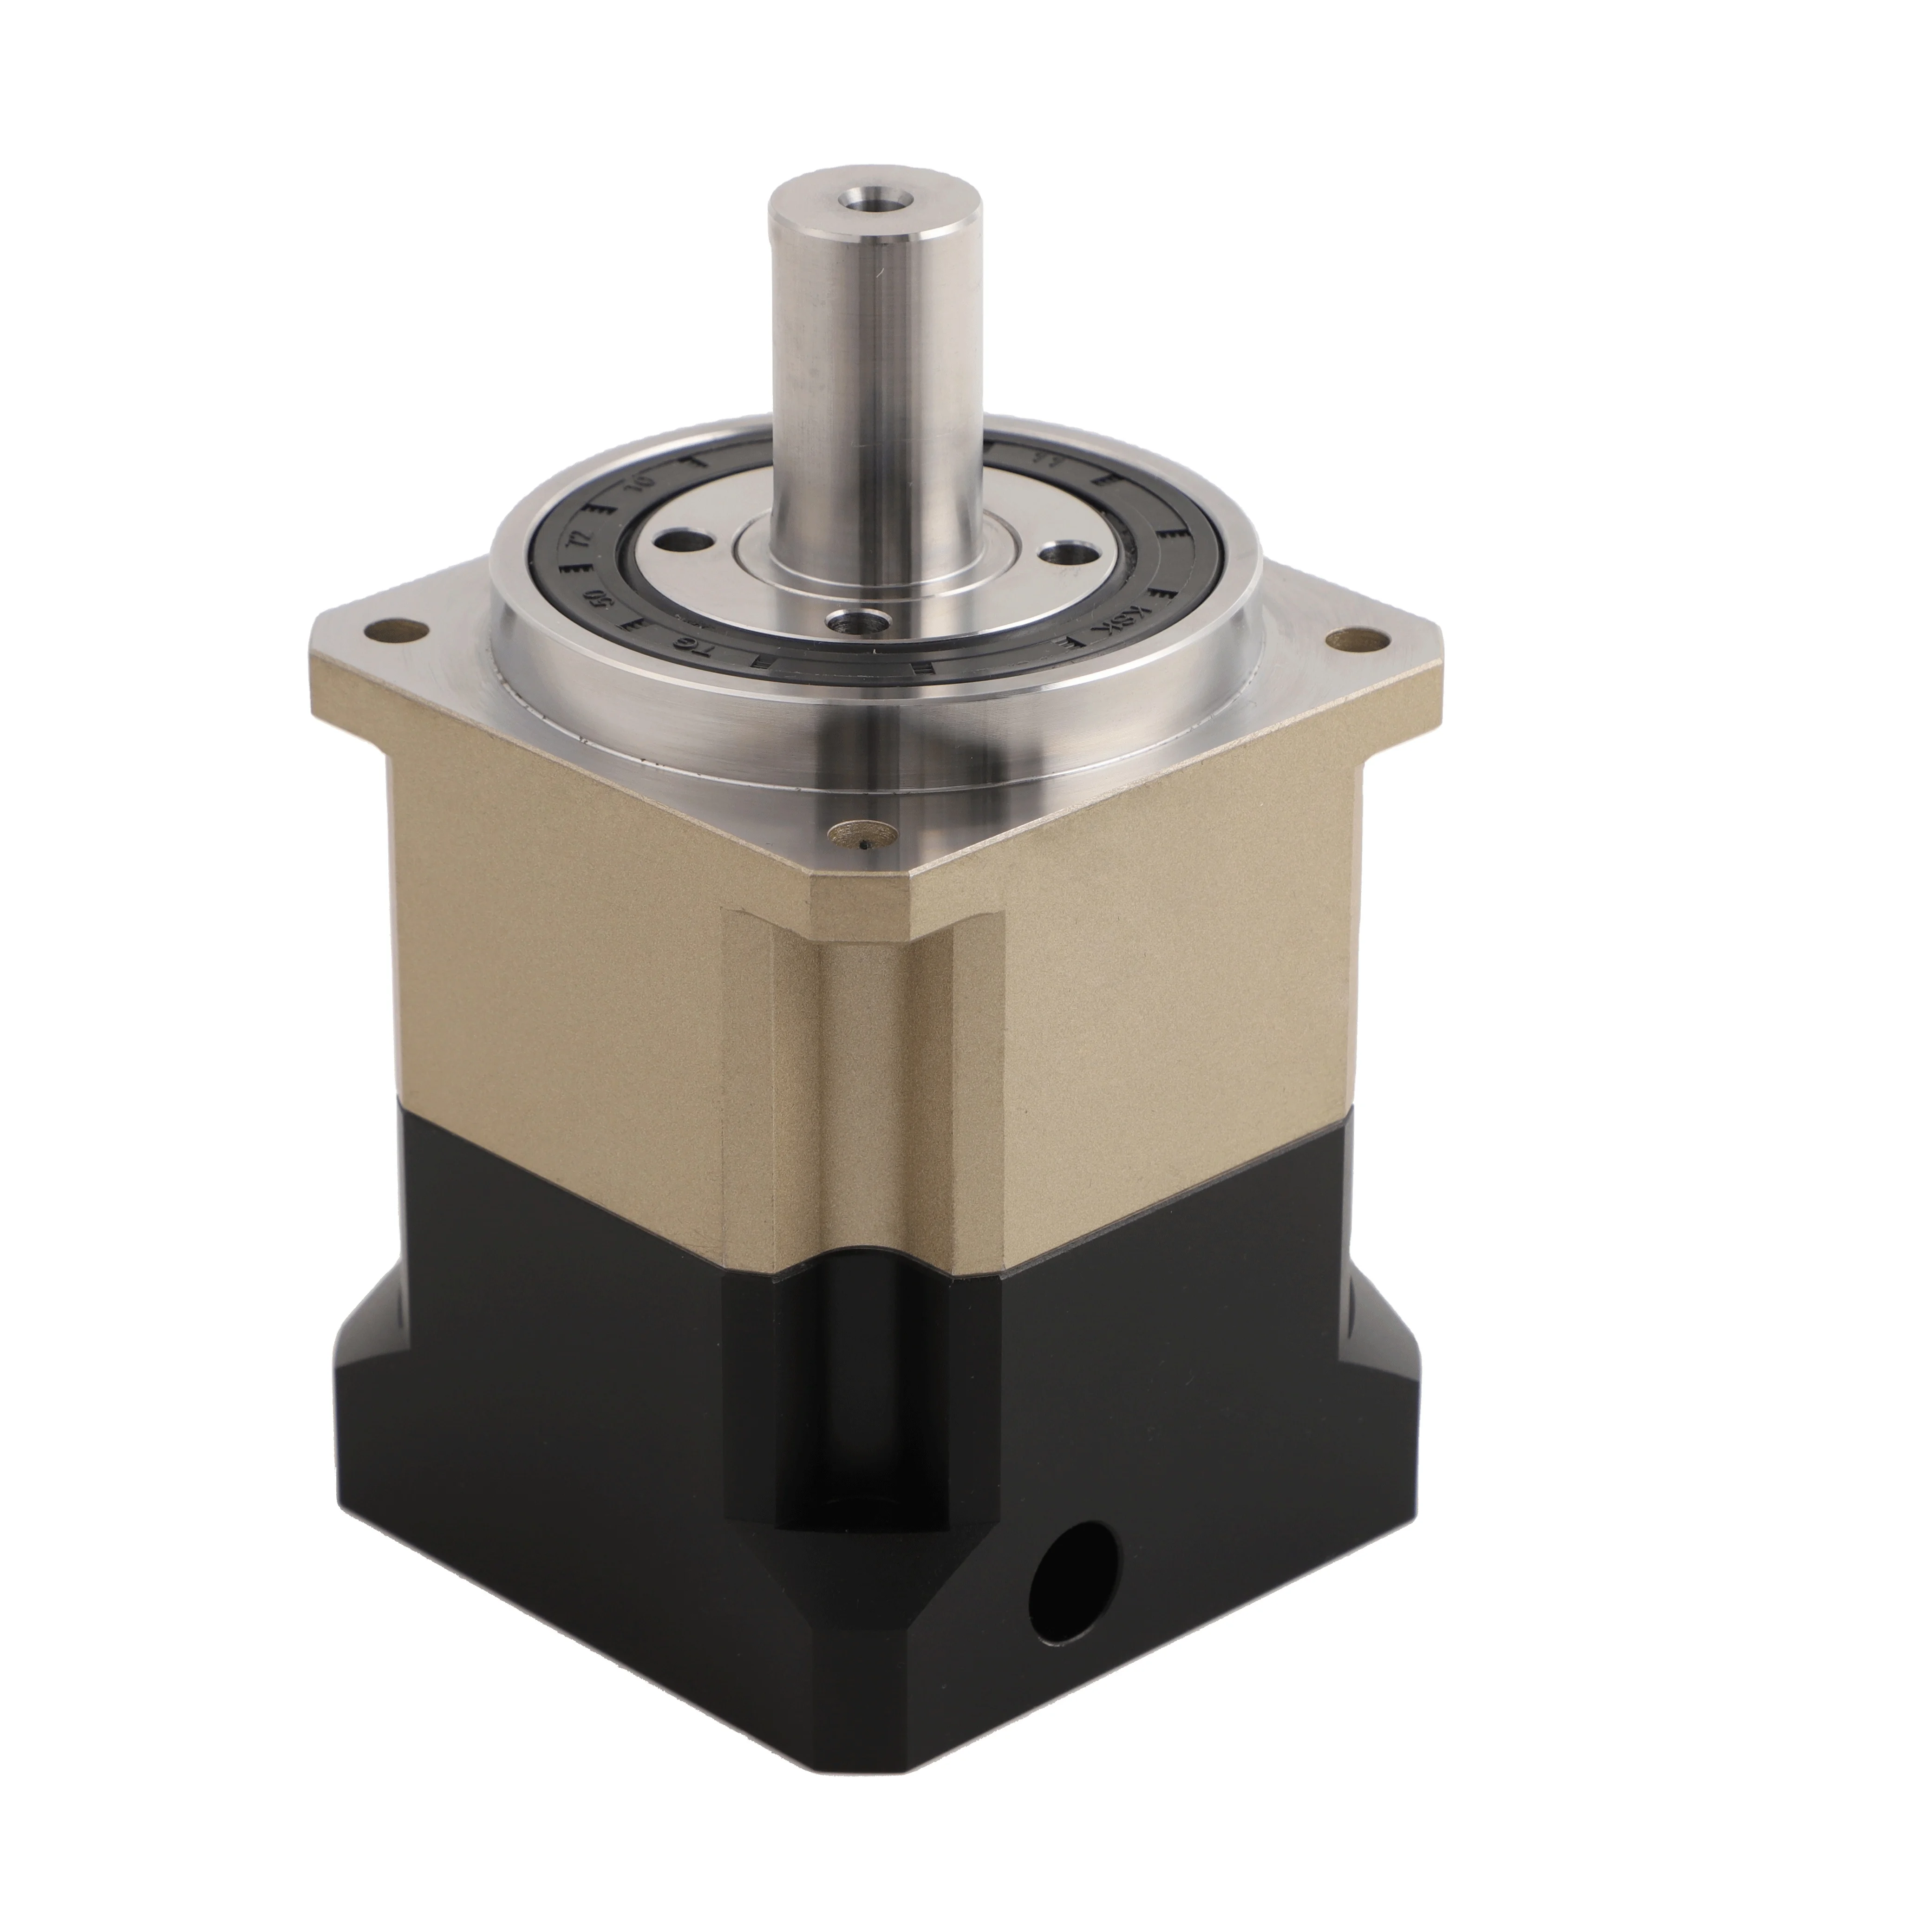
Use correct fastening and bonding methods for spare parts
The way you fasten or bond precision spare parts directly impacts their stability and lifespan. For threaded fasteners (screws, bolts), use the correct thread type and size—mismatched threads can strip the spare part or equipment. Apply a small amount of thread locker (if recommended) to prevent loosening from vibrations, but avoid overusing it—excess can seep into the spare part and damage internal components. For bonding (e.g., adhesives for plastic or ceramic spare parts), use only the manufacturer-approved adhesive. Apply it sparingly and evenly; too much adhesive can create gaps or overflow, affecting the spare part’s fit. Allow sufficient curing time as specified—rushing the process leads to weak bonds. For press-fit spare parts (like bearings), use a press tool or mounting fixture to apply even pressure—hammering or brute force will deform the spare part. Using the right fastening and bonding methods ensures the spare part stays secure and maintains its precision over time.
Conduct post-installation testing and calibration
Installing the spare part is just the first step—testing and calibration are essential to confirm it works correctly with the equipment. Start with a visual inspection: check that the spare part is properly seated, fasteners are tight, and no wires or hoses are pinched. Next, run the equipment through a series of tests: for mechanical spare parts, check for smooth movement, no abnormal noises, and correct alignment. For electronic spare parts, test functionality and verify that signals or power are transmitted correctly. Use calibration tools to adjust the spare part’s settings to match the equipment’s specifications—this is crucial for precision performance. For example, calibrate a sensor spare part to ensure accurate readings, or align a gear spare part to prevent backlash. Monitor the equipment during initial operation and check for any issues (vibrations, overheating, poor performance). Address any problems promptly by rechecking the installation or adjusting the calibration. Post-installation testing and calibration ensure the spare part integrates seamlessly with the equipment and delivers the required precision.
 Hot News