Identify the source and type of noise from speed reducers
The first step to fixing noise in speed reducers is figuring out where the noise is coming from and what kind it is—different sounds point to different problems. Common noises include grinding, whining, rattling, or clicking. Grinding usually means metal-on-metal contact, like worn gears or bearings. Whining often comes from misalignment or insufficient lubrication. Rattling might indicate loose parts or worn couplings, while clicking could be due to damaged gear teeth or loose fasteners. To locate the source, listen closely with a stethoscope (or even a long screwdriver pressed against the speed reducers housing) to pinpoint which area the noise is coming from—gears, bearings, input/output shafts, or mounting points. Also, note when the noise happens: during startup, at full speed, or under load. Understanding the noise’s source and type helps you target the fix instead of wasting time on unnecessary adjustments.
Check and optimize lubrication for speed reducers
Poor or inadequate lubrication is one of the most common causes of noise in speed reducers—gears and bearings need proper lubricant to reduce friction and wear. First, check if the lubricant level is correct—too little means metal parts rub directly, too much causes foaming and increased resistance. Refer to the speed reducers manual to top up or drain lubricant to the right level. Next, verify the lubricant type: use the manufacturer-recommended viscosity and grade (mineral, synthetic, or semi-synthetic). Old or contaminated lubricant (with metal shavings, dirt, or moisture) also causes noise—change the lubricant if it looks cloudy, dark, or has particles. Add anti-wear or extreme-pressure additives if the speed reducers operates under heavy loads. Regular lubrication maintenance keeps moving parts in the speed reducers running smoothly, cutting down on friction-related noise and extending service life.
Inspect and correct alignment and mounting of speed reducers
Misalignment between the speed reducers, motor, and driven equipment creates excessive stress on gears and bearings, leading to loud noise. Check the alignment of the input shaft (connected to the motor) and output shaft (connected to the load) using a straightedge or laser alignment tool. Misalignment can be angular (shafts not parallel) or parallel (shafts offset). Adjust the motor or speed reducers mounting feet to correct alignment—even a small misalignment (1-2 thousandths of an inch) can cause significant noise. Also, ensure the speed reducers is mounted on a stable, level surface. Loose mounting bolts or a wobbly base make the speed reducers vibrate, amplifying noise. Tighten all mounting hardware and use vibration-damping pads if needed to absorb shocks. Proper alignment and secure mounting reduce stress on internal components, minimizing noise and preventing premature wear.
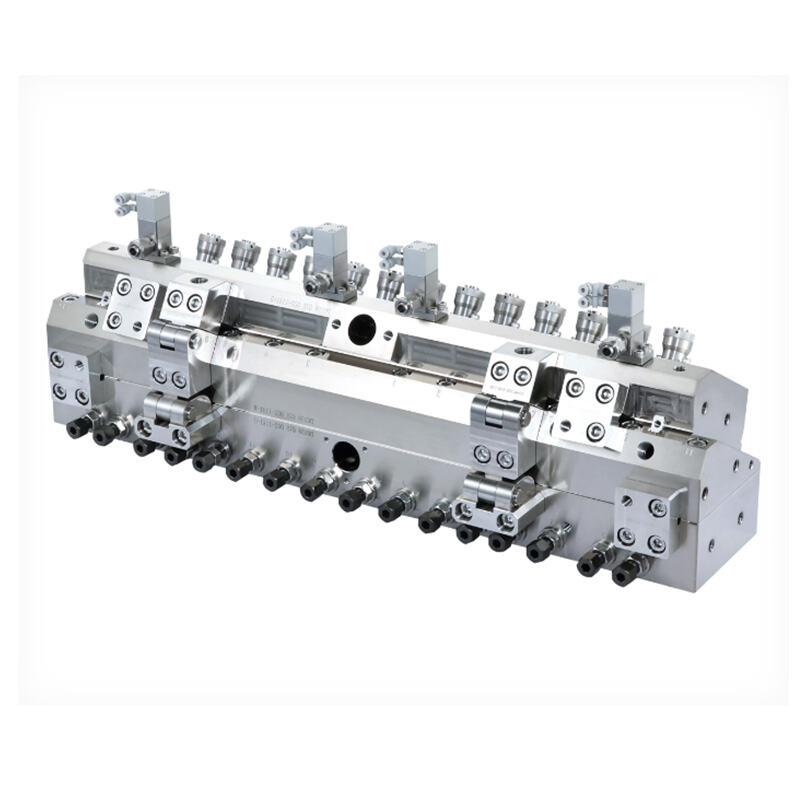
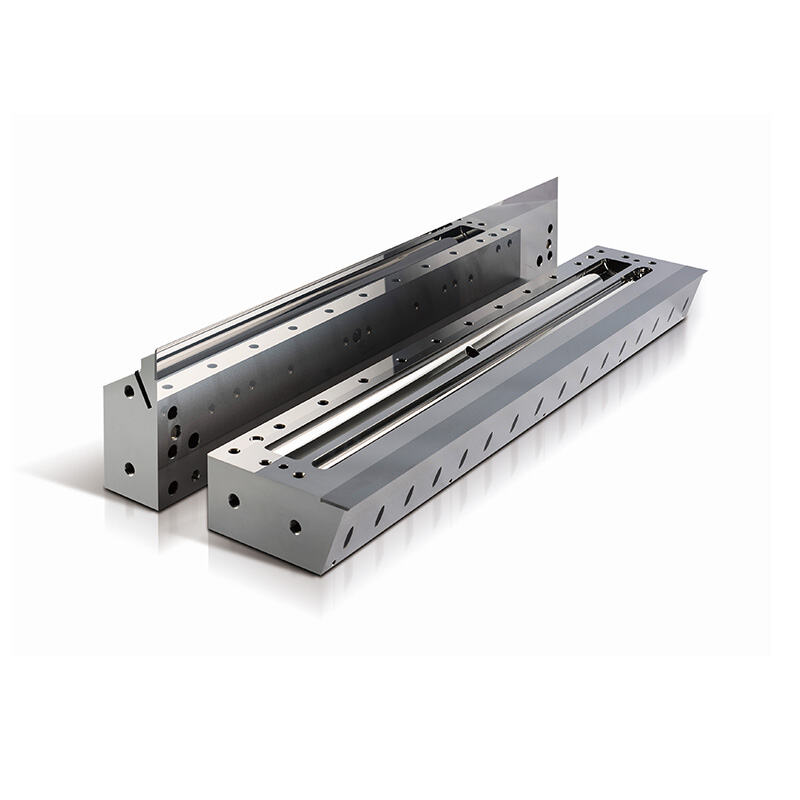
Repair or replace worn or damaged components in speed reducers
Worn, damaged, or faulty components are a major source of noise in speed reducers—over time, gears, bearings, shafts, and couplings degrade with use. Inspect gear teeth for wear, pitting, chipping, or uneven contact—worn gears can’t mesh smoothly, causing grinding or whining. Replace any gears that show signs of damage. Check bearings for play, roughness, or leakage—spin the shaft by hand; if it feels rough or loose, the bearings need replacement. Inspect couplings (like flexible joints or keyways) for wear or damage—loose couplings cause rattling or clicking. Tighten or replace loose fasteners (bolts, nuts, set screws) that can vibrate and create noise. For plastic components (like nylon gears), check for deformation or melting due to overheating. Repairing or replacing worn parts restores the speed reducers’ smooth operation, eliminating noise caused by damaged components.
Reduce vibration and implement regular maintenance for speed reducers
Vibration amplifies noise, so reducing vibration is key to resolving noise issues in speed reducers. Install vibration-damping mounts or rubber pads under the speed reducers to absorb vibrations instead of transferring them to the surrounding structure. If the speed reducers is part of a larger system, ensure all connected equipment is also properly aligned and mounted to minimize vibration transfer. Balance rotating components (shafts, gears) if they’re causing excessive vibration—unbalanced parts create rhythmic noise and stress. Implement a regular maintenance schedule for speed reducers: clean the exterior to prevent dirt buildup, inspect lubricant levels and quality monthly, check for loose parts quarterly, and perform a full component inspection annually. Keep a maintenance log to track noise levels, lubricant changes, and repairs—this helps identify patterns and address small issues before they turn into loud, costly problems. Regular maintenance keeps speed reducers in top condition, reducing noise and extending their operational life.
 Hot News