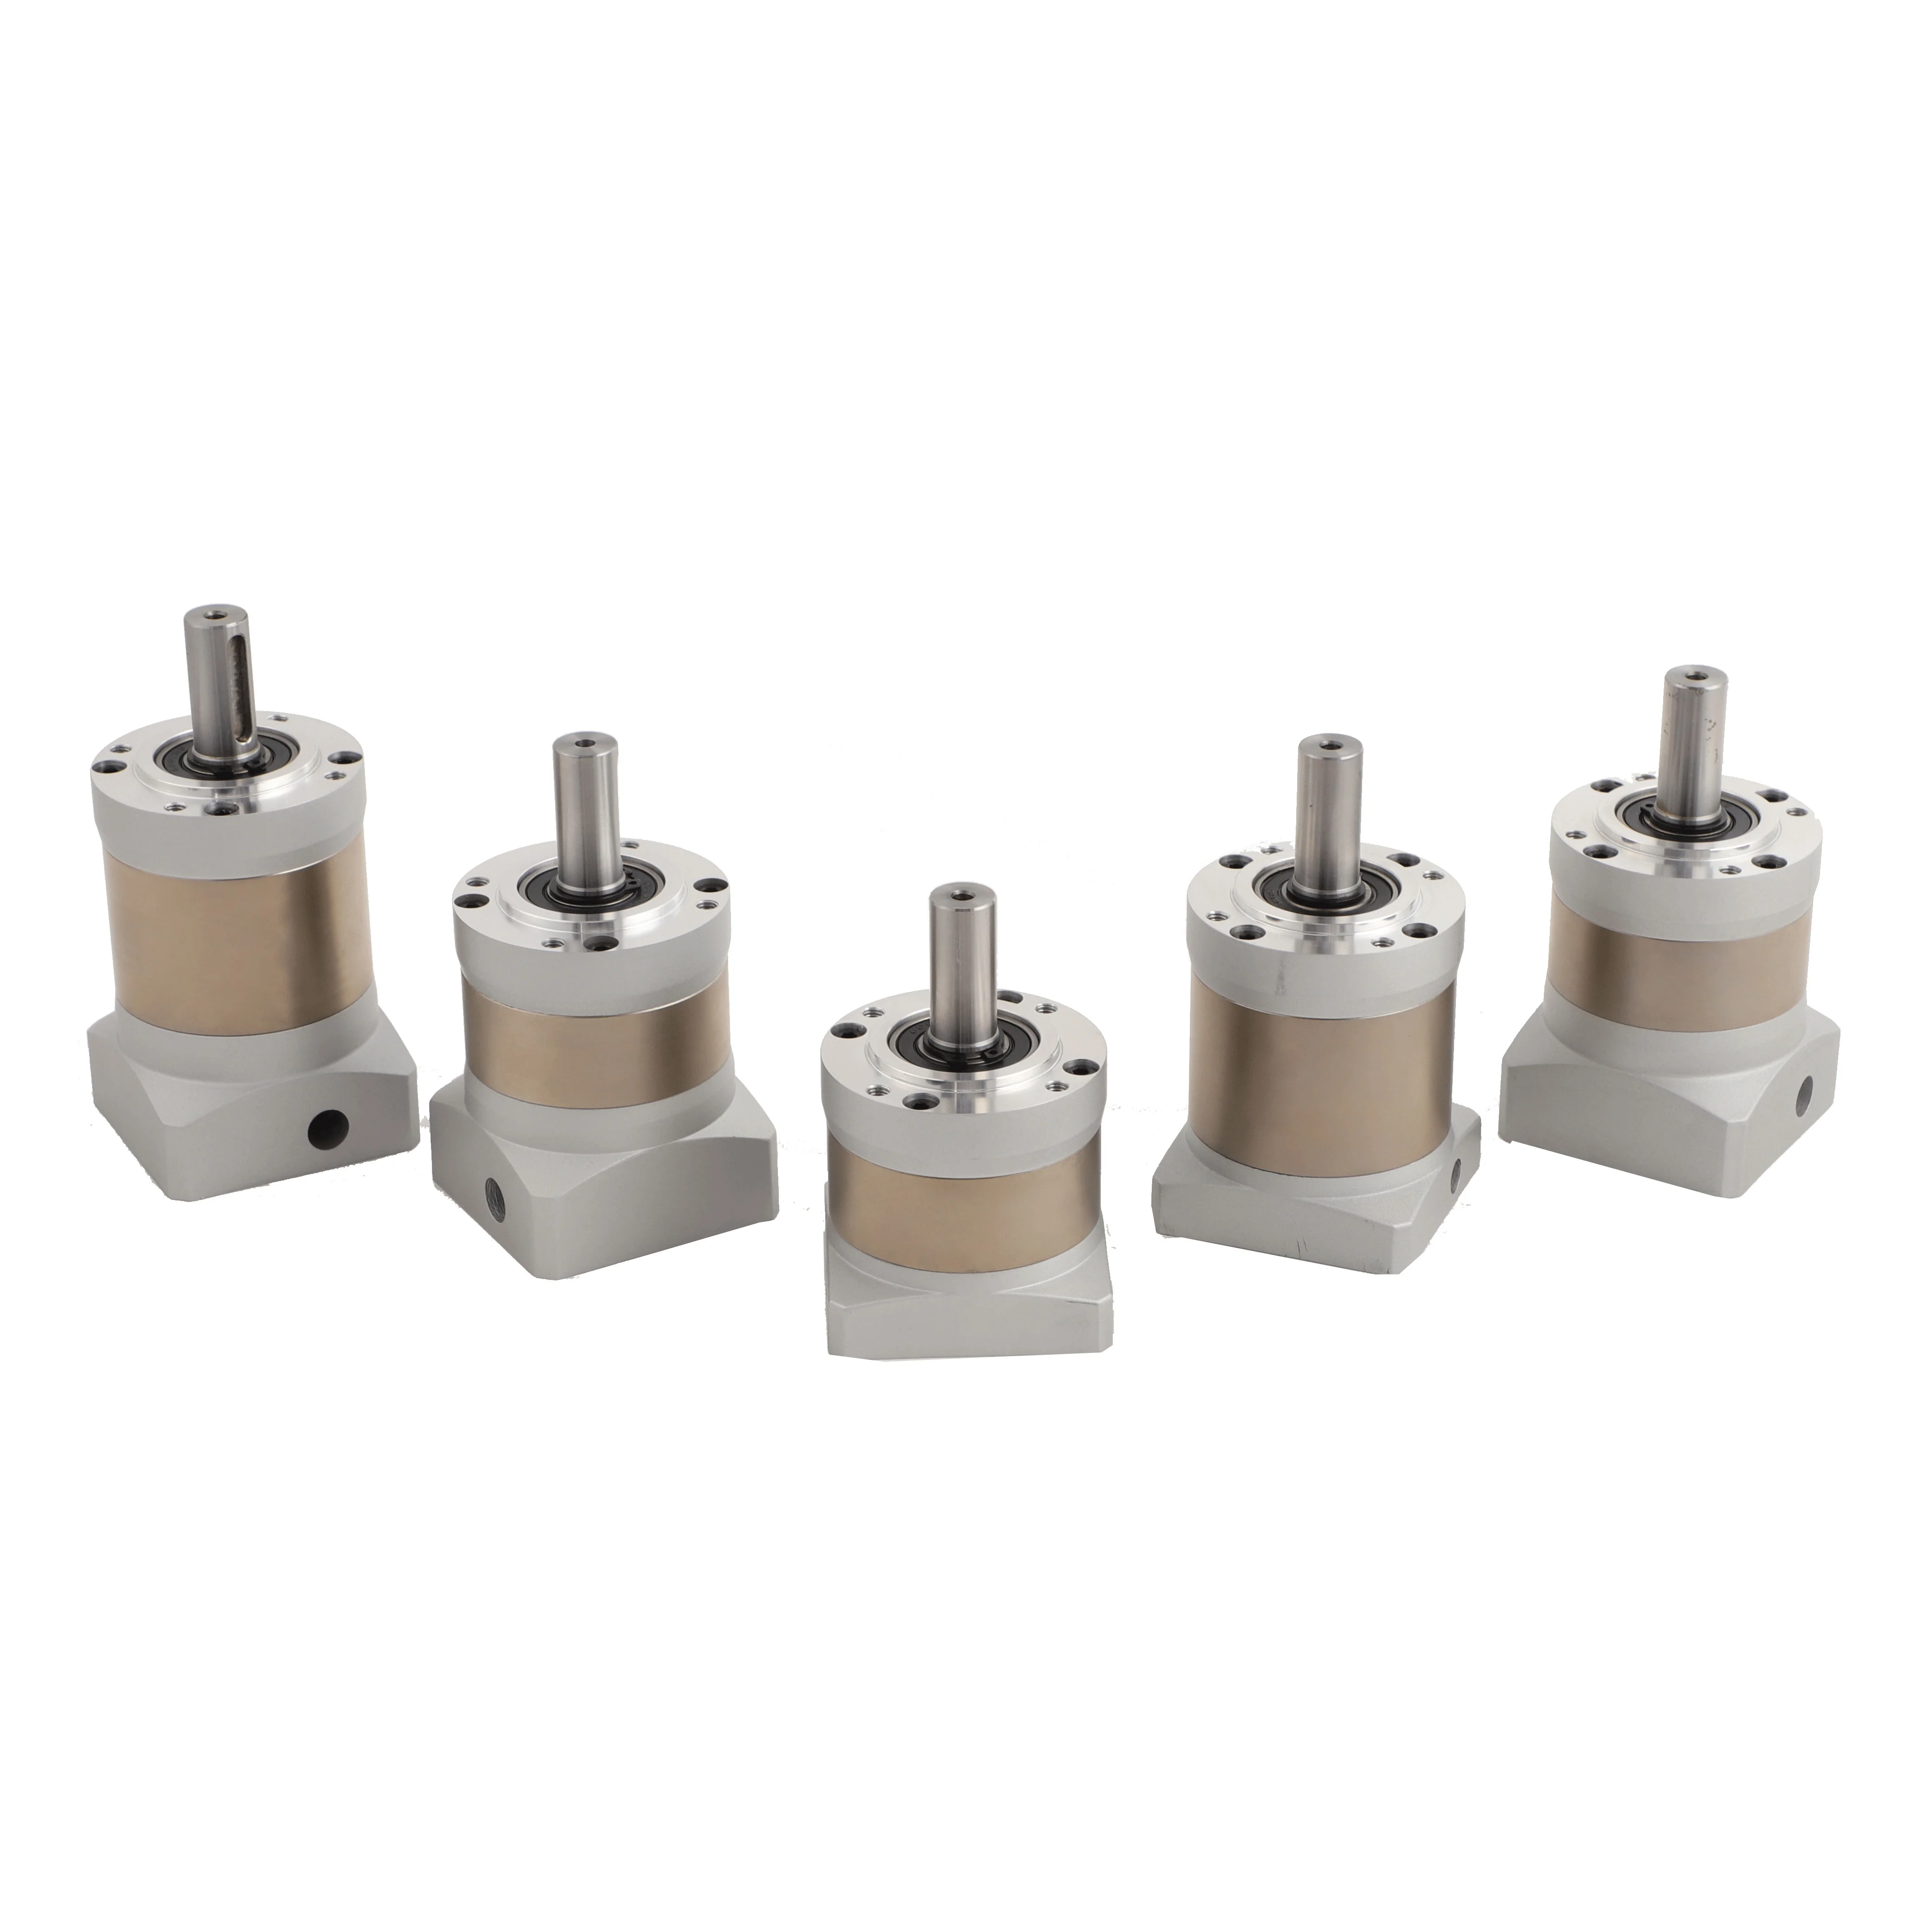
Prepare Tools and Check Brushless Motor Status First
Before starting calibration, you need to get all the necessary tools ready and make sure the brushless motor is in good condition. The basic tools include a matching motor controller (ESC), a power supply that meets the brushless motor’s voltage requirements, a small screwdriver, and a multimeter for checking connections. First, turn off all power sources to avoid electric shock or damage to the brushless motor. Then, visually inspect the brushless motor: check if the rotor spins smoothly without stuck parts, if the wires are not frayed or corroded, and if the terminals are tight. Use the multimeter to test the resistance between the brushless motor’s three-phase wires—they should have the same resistance value; if there’s a big difference, it means the motor has an internal fault and calibration can’t be done until it’s fixed. Also, confirm that the controller is compatible with the brushless motor’s model and power, as mismatched devices will make calibration useless.
Connect Brushless Motor, Controller and Power Supply Correctly
Correct wiring is the key to successful calibration of the brushless motor. First, find the three-phase wires (usually labeled U V W or A B C) on the brushless motor and the corresponding connection ports on the controller. Connect each wire one by one—don’t mix up the order, because wrong wiring will cause the brushless motor to rotate in the wrong direction or even overheat. Then, connect the controller to the power supply, making sure the positive and negative poles are correct; reversing them may burn the controller and the brushless motor. After wiring, double-check each connection: pull the wires gently to see if they are loose, and use the multimeter to confirm there’s no short circuit between the wires. Once the connections are confirmed correct, turn on the power supply slowly—don’t rush to full voltage. Observe if the brushless motor or controller has abnormal phenomena like sparks, smoke or strange noises; if yes, turn off the power immediately and check the wiring again.
Set Basic Parameters on the Controller
After the brushless motor and controller are connected correctly, you need to set basic parameters on the controller to match the brushless motor’s performance. Most controllers have a display screen or indicator lights to help adjust parameters, and some can be connected to a computer for more precise setting. First, set the voltage and current limits: the voltage should be the same as the brushless motor’s rated voltage, and the current should not exceed the motor’s maximum allowable current—this prevents the brushless motor from being overloaded during calibration. Then, adjust the motor rotation direction: if the brushless motor rotates in the opposite direction you need after powering on, you can swap any two of the three-phase wires to correct it. Next, set the start and stop modes—choose a soft start mode, which lets the brushless motor speed up gradually instead of starting suddenly, reducing the impact on the motor and controller. During parameter setting, write down each original parameter in case you need to restore it if there’s a mistake.
Perform Speed and Torque Calibration for Brushless Motor
Speed and torque are important performance indicators of the brushless motor, so their calibration is a key step. First, for speed calibration: use the controller’s speed adjustment function to set the brushless motor to run at different speeds (from low to high). At each speed level, let the motor run for 2 to 3 minutes and observe if it runs stably—there should be no obvious speed fluctuations or vibrations. Use a tachometer (if available) to measure the actual speed and compare it with the set speed; if there’s a difference, adjust the speed parameter on the controller until the actual speed matches the set value. Then, for torque calibration: connect a suitable load to the brushless motor (according to the motor’s rated torque). Increase the load gradually and observe if the brushless motor can maintain the set speed without slowing down significantly. If the speed drops too much under a certain load, adjust the torque compensation parameter on the controller to enhance the motor’s load capacity. Remember not to exceed the brushless motor’s maximum torque during calibration, as this will cause damage.
Test and Save Calibration Data, Then Do Final Inspection
After completing all calibration steps, you need to test the brushless motor comprehensively and save the calibration data to ensure the parameters are not lost. First, run the brushless motor at different speeds and loads for 10 to 15 minutes continuously. During the test, check the motor’s temperature with a thermometer— it should not exceed the recommended maximum temperature (usually 80°C). Listen to the motor’s running sound; it should be smooth and quiet, with no abnormal noises like grinding or buzzing. Use the multimeter to monitor the current during operation— it should be stable and within the rated range. If all indicators are normal, save the calibration data on the controller (some controllers save automatically, while others need manual operation). Finally, turn off the power supply, disconnect all connections, and clean the brushless motor and controller—wipe off dust and dirt with a dry cloth. Record the calibration date, parameters and test results in a log, which will help with future maintenance and re calibration of the brushless motor.
 Hot News